Didn't have my camera for the assembly of the crank into the block....
There is a small aluminum sleeve repair done to the chipped block, as the number 5 bearing shell did not completely cover it up, which if left as is, would have squirted oil directly at the rear crank seal and it most likely would have leaked in a short period of time.
Sleeve was made with a 3 thou press fit and driven in flush with the cap surface.
Fixed.
All crank bearing clearances were perfect, right on at 0.002" max.
Crank endplay measured at .002".
Friction drag was consistent.
So far, so good.
Saturday, February 23, 2013
Cluster Luster
Picked up an instrument cluster with an oil pressure gage instead of an idiot lite.
Spent some time getting it up to my standards.
Had some fun.
Spent some time getting it up to my standards.
Had some fun.
Sunday, February 17, 2013
Stripping the fur for glossy smooth.
The fuzz covered dash was probably bitchin' when it was first done. But time had taken its toll and all the fuzz had fallen off, and only the burlap backer was left in most places.
It was time to fix that, and in doing so, I gave myself a bunch more work, but in the end it will be worth it.
The dash removal let me clean up the hacked wiring, and will allow me to add some accessory wiring in preparation for an overhead console.
The fur was glued to the original steel dash with gorilla snot. I was able to blast the crap off the glove box door, but I had to send the dash out to the local blast house (Uspray in Butler, WI) to get it plastic media stripped.
They did a nice job, and fast: had it the next day.
And, I did manage to break the windshield getting it out. I knew it was going to happen, but lessons were learned. Plus, the fuel pump for my crazy little gasoline burning garage heater died while I was topcoating yesterday. Dammit.
You can never go wrong with black. Ford had that figured out a hundred years ago!
It was time to fix that, and in doing so, I gave myself a bunch more work, but in the end it will be worth it.
The dash removal let me clean up the hacked wiring, and will allow me to add some accessory wiring in preparation for an overhead console.
The fur was glued to the original steel dash with gorilla snot. I was able to blast the crap off the glove box door, but I had to send the dash out to the local blast house (Uspray in Butler, WI) to get it plastic media stripped.
They did a nice job, and fast: had it the next day.
And, I did manage to break the windshield getting it out. I knew it was going to happen, but lessons were learned. Plus, the fuel pump for my crazy little gasoline burning garage heater died while I was topcoating yesterday. Dammit.
You can never go wrong with black. Ford had that figured out a hundred years ago!
Saturday, February 9, 2013
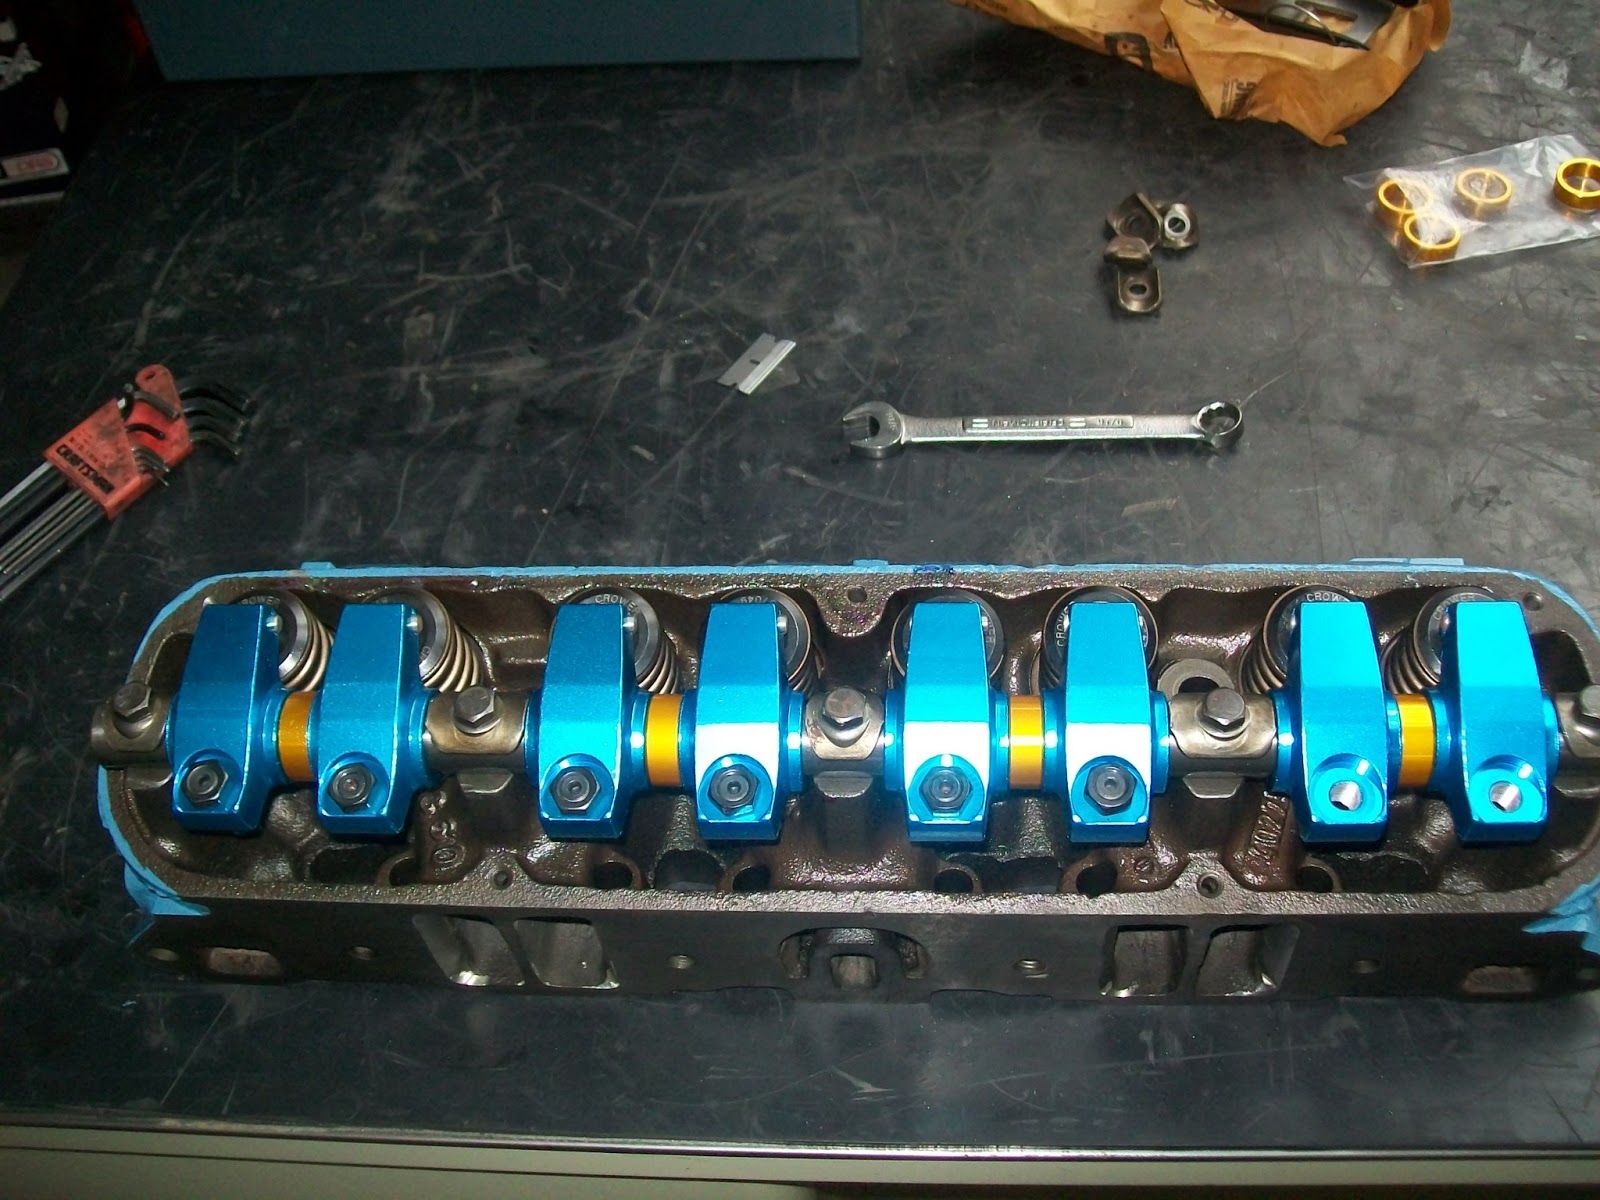
shiny throws, shotpeened steel and blue anodize
'Tis a shame all this neat stuff gets covered up, but that's the way its goes.
| .010"/.010", chamfered oilways and polished journals. |
| Flexplate indexed and installed. New bolts torqued to 55 ft/lbs |
| I put the rods and pistons together yesterday. Didn't get any pics. But here they is. Resized, new ARPs in place holding in Speedpro- 040" overs. |
| Speed. In kit form. |
| Purdy. |
| Lets hope they hold up. |
Tangled up in blue
A little newspaper, a little making tape, a sharp razor.
A really good military furnace to heat the garage.
And more chemicals...
Should be the last time I have to clean out my Finishline for a while. Gonna let this cure fer a week.
A really good military furnace to heat the garage.
And more chemicals...
Should be the last time I have to clean out my Finishline for a while. Gonna let this cure fer a week.
Tuesday, February 5, 2013
Aw, really?!?!
So, the time was drawing nigh for the lower reciprocating machine work to be getting close to being done.
So's I called them.
And heard on the other end "there's a little thing with your block..." at which point I started to curl up the fetal position, and heard the fella say "crack yada yada, chipped the main yada yada...."
Knots. In the pit of my stomach. Lots of 'em.
"Its not that bad, the main bearing should cover it up...., why don'cha stop over today so's we can look it over."
And look I did. Its not as bad as my minds eye first conjured up but Im concerned. This is the main oil galley leaving directly from the pump output!
The chip was caused during the plug installation attempt. ( I had every intent on installing this plug myself because I was convinced that none of the plugs supplied in the "freeze plug kit" I purchased would be the correct plug for this. Well, apparently, one of the plugs from the "kit" was used here. The block wall thickness is maybe 0.035" between the oil galley and the main journal here.
The plug is driven via hammer and (I hope they used one) brass/ bronze punch. Physics worked again. Apparently, my eyes were right, and the plug is just a bit too... um... big.
So now, yeah, the main bearing shell will cover most of it, but it will still port oil around where it doesn't!
Looks like you all are going to witness me do a very custom thin wall tube repair. EDIT: I may not repair this after all. It should be OK with the bearing shell installed. I will still look into it.
And, that plug looks to me like it is not in the correct position, but I will look into that as well. EDIT: Plug is in the correct position.
So's I called them.
And heard on the other end "there's a little thing with your block..." at which point I started to curl up the fetal position, and heard the fella say "crack yada yada, chipped the main yada yada...."
Knots. In the pit of my stomach. Lots of 'em.
"Its not that bad, the main bearing should cover it up...., why don'cha stop over today so's we can look it over."
And look I did. Its not as bad as my minds eye first conjured up but Im concerned. This is the main oil galley leaving directly from the pump output!
The chip was caused during the plug installation attempt. ( I had every intent on installing this plug myself because I was convinced that none of the plugs supplied in the "freeze plug kit" I purchased would be the correct plug for this. Well, apparently, one of the plugs from the "kit" was used here. The block wall thickness is maybe 0.035" between the oil galley and the main journal here.
The plug is driven via hammer and (I hope they used one) brass/ bronze punch. Physics worked again. Apparently, my eyes were right, and the plug is just a bit too... um... big.
So now, yeah, the main bearing shell will cover most of it, but it will still port oil around where it doesn't!
Looks like you all are going to witness me do a very custom thin wall tube repair. EDIT: I may not repair this after all. It should be OK with the bearing shell installed. I will still look into it.
And, that plug looks to me like it is not in the correct position, but I will look into that as well. EDIT: Plug is in the correct position.
Thee Ol' Boozeroony
So, one head had the guide inserts protruding slightly into the gas path.
I fixed that wagon.
Then, some deftful slopping-up with lube ensued....(note the gasket matching on the intake runners)
And we excercised....
A little peek at the AIR bumps smoothed out....
Followed by a strong pour of pure booze into the chambers!
Runners remain dry! But the valves are loaded.....
I fixed that wagon.
Then, some deftful slopping-up with lube ensued....(note the gasket matching on the intake runners)
And we excercised....
A little peek at the AIR bumps smoothed out....
Followed by a strong pour of pure booze into the chambers!
Runners remain dry! But the valves are loaded.....
Subscribe to:
Posts (Atom)